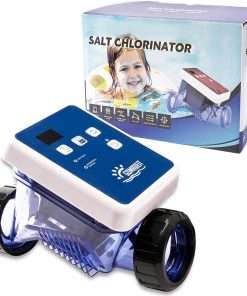
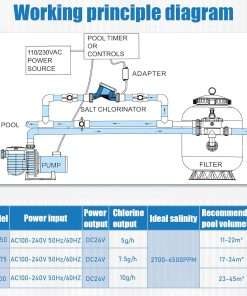
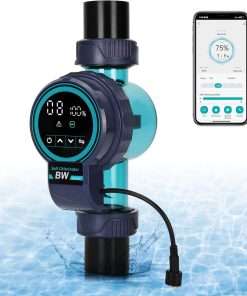
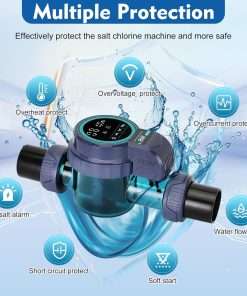
Product Details
- Product type: Flow switch replacement
- Brand: Hayward
- Part number: GLX-FLO
- Cable length: 15 feet
- Flow range detail: Verify 10 to 12 GPM requirement before publishing
- Pipe fitting detail: Verify 2-inch pipe tee compatibility before publishing
- Compatible system type: Select Hayward salt chlorine generators
- Use: Replacement flow switch for detecting proper water flow before chlorine generation
- Best use case: Replacing a damaged or failed flow switch when the salt cell and control system are still compatible
- Package contents: Verify whether tee fitting, cable, switch, hardware, or instructions are included
Compatibility and Buyer Check
Before ordering, confirm that your Hayward system manual or existing part label calls for GLX-FLO. This part should be selected by part number, cable length, flow switch style, pipe connection, and system compatibility, not by image alone.
If your system has control or display issues along with flow warnings, compare the Hayward GLX-PCB-RITE main circuit board and Hayward GLX-PCB-DSP Aqua Rite PCB display before replacing only the flow switch.
If the flow issue is related to the return-jet or cell plumbing area, review the Hayward GLX-RJ elbow return jet fitting and Hayward GLX-CELL pipe before assuming the flow switch is the only part that needs service.
What This Flow Switch Does
The flow switch helps confirm that enough water is moving through the salt chlorine generator before the system operates. This protects the equipment by helping prevent chlorine generation when water flow is too low or not detected.
Replacing the flow switch may help when the system shows a flow warning, does not recognize proper water movement, or has a damaged switch or cable. It will not fix every salt chlorine generator problem. Low chlorine output, no power, incorrect salt readings, or cell errors may also come from the salt cell, control board, transformer, wiring, plumbing restriction, pump issue, or water chemistry.
Before You Order
Check these details before purchasing:
- Confirm the exact part number GLX-FLO.
- Verify that your system requires the 15-feet cable version.
- Confirm pipe tee size and fitting compatibility.
- Inspect the existing flow switch cable for cuts, corrosion, loose connectors, or damaged insulation.
- Check water flow, pump operation, filter pressure, and plumbing restrictions before replacing electrical parts.
- If the system has power issues, check the Hayward GLX-XFMR transformer replacement before assuming the flow switch is the only failed part.
- Do not order this part for non-compatible systems unless the service manual confirms fitment.
Installation and Safety Notes
Turn off power to the salt chlorine generator and pool pump before removing the old flow switch. Relieve system pressure before opening the plumbing connection.
Before disconnecting the old switch, take clear photos of the cable routing, connector position, and flow direction. Install the replacement in the correct orientation so the switch can detect water movement properly. Keep the cable away from sharp edges, hot surfaces, moving equipment, and areas where it may be pulled or pinched.
After installation, restart the pump, check for leaks, confirm water flow, and verify that the control system recognizes normal flow.
Maintenance and Troubleshooting Tips
To help protect the replacement flow switch:
- Keep the pool filter clean to maintain proper water flow.
- Check pump baskets and skimmer baskets for debris.
- Inspect the flow switch cable during routine service.
- Keep connectors clean, dry, and secure.
- Do not bypass the flow switch for normal operation.
- Check plumbing restrictions before replacing additional electrical parts.
- Follow Hayward service instructions for diagnostics and setup after replacement.